BIF


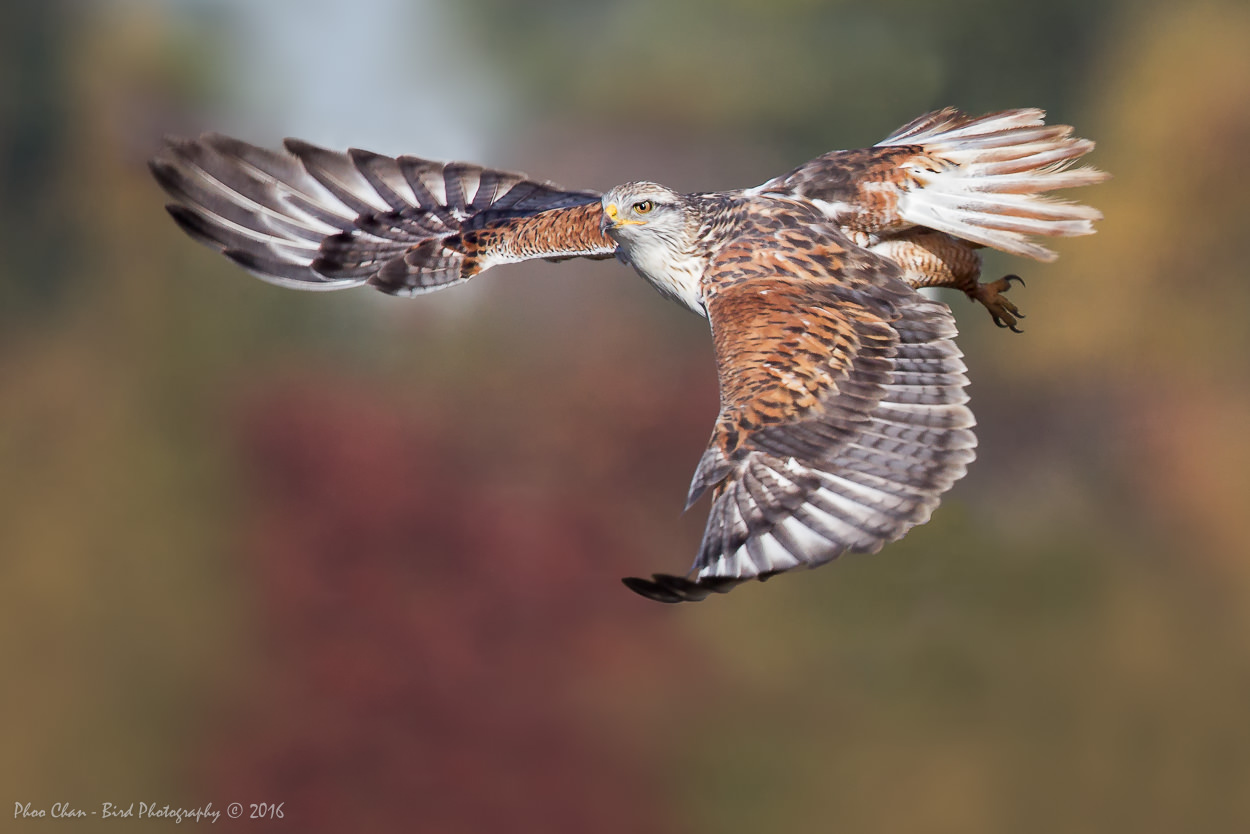

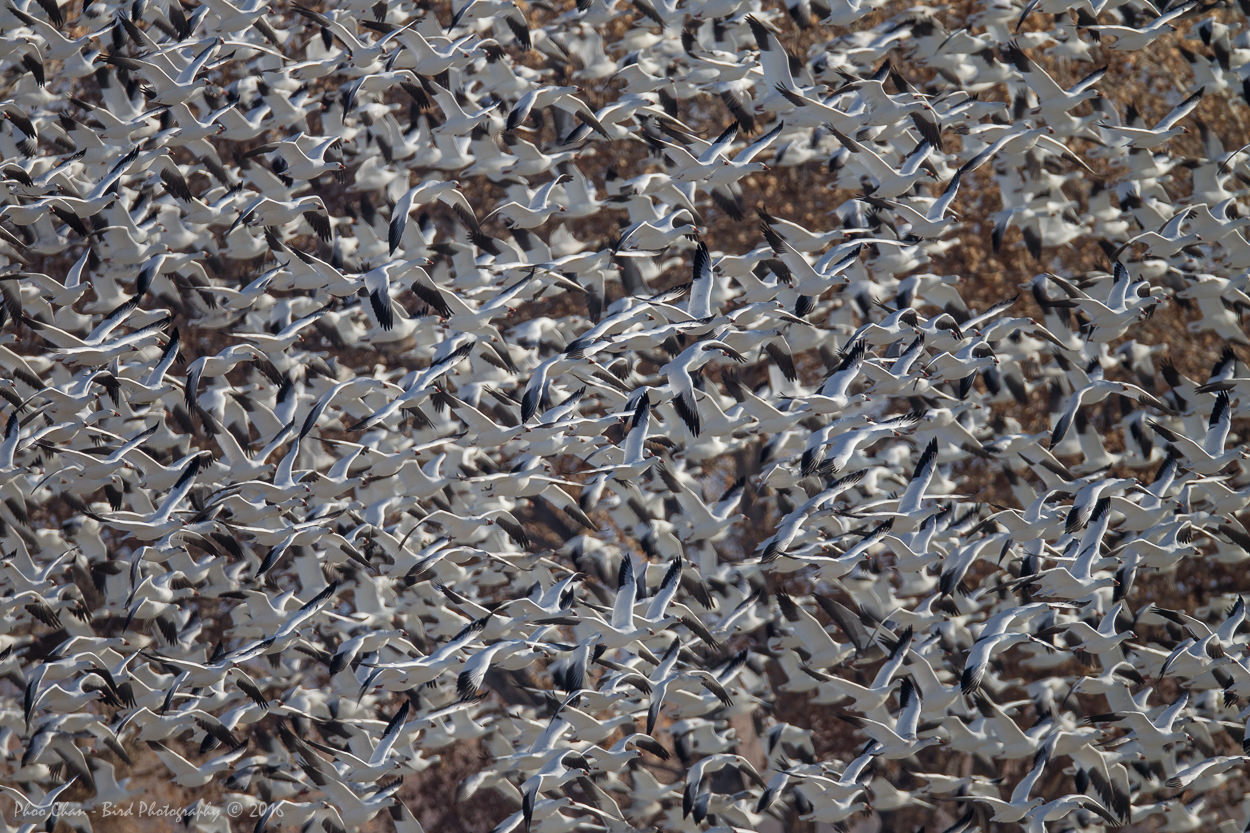
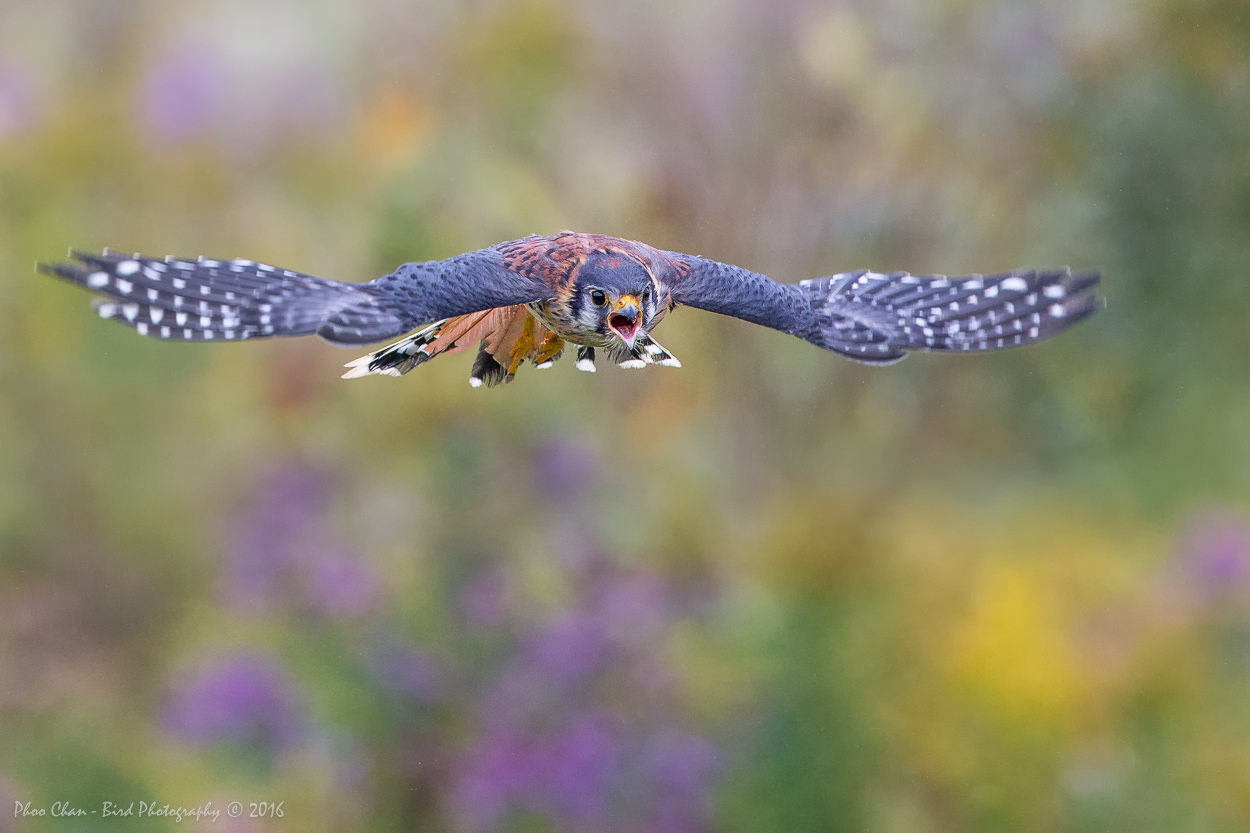
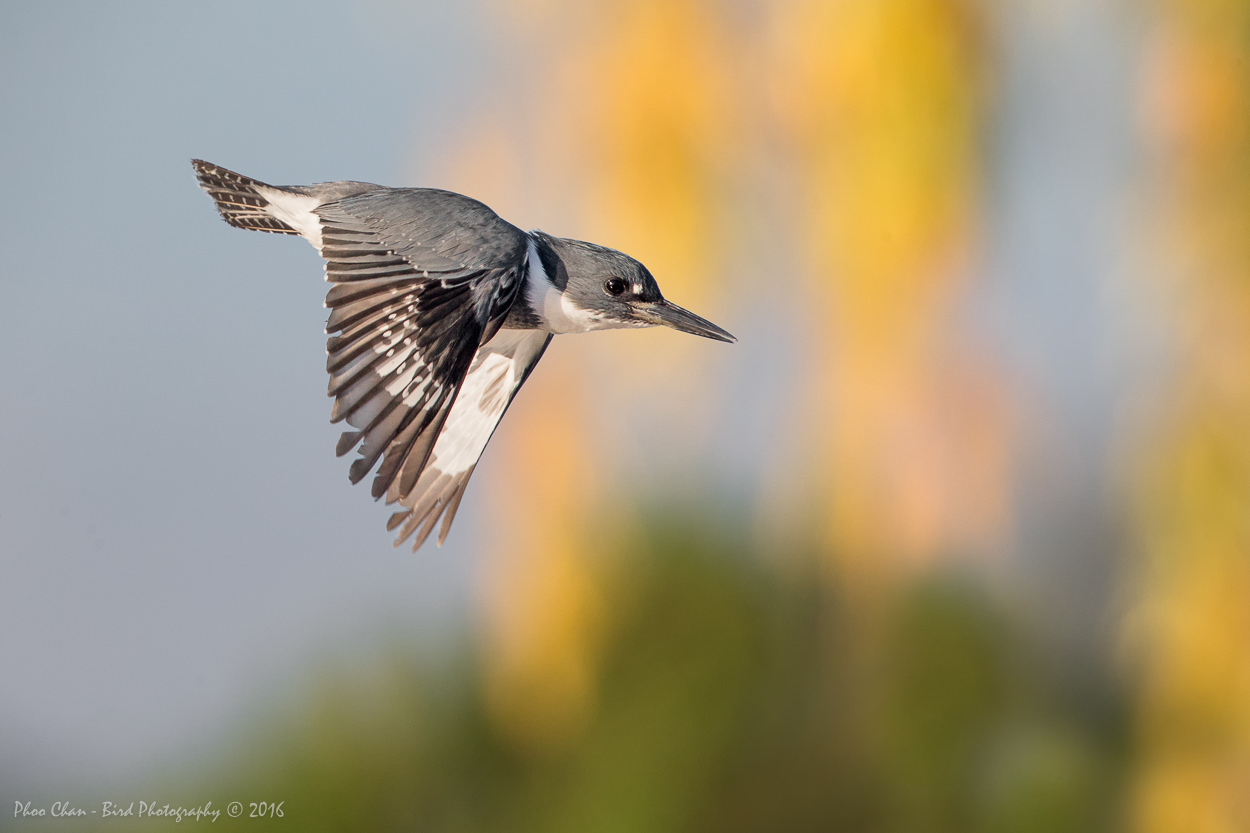
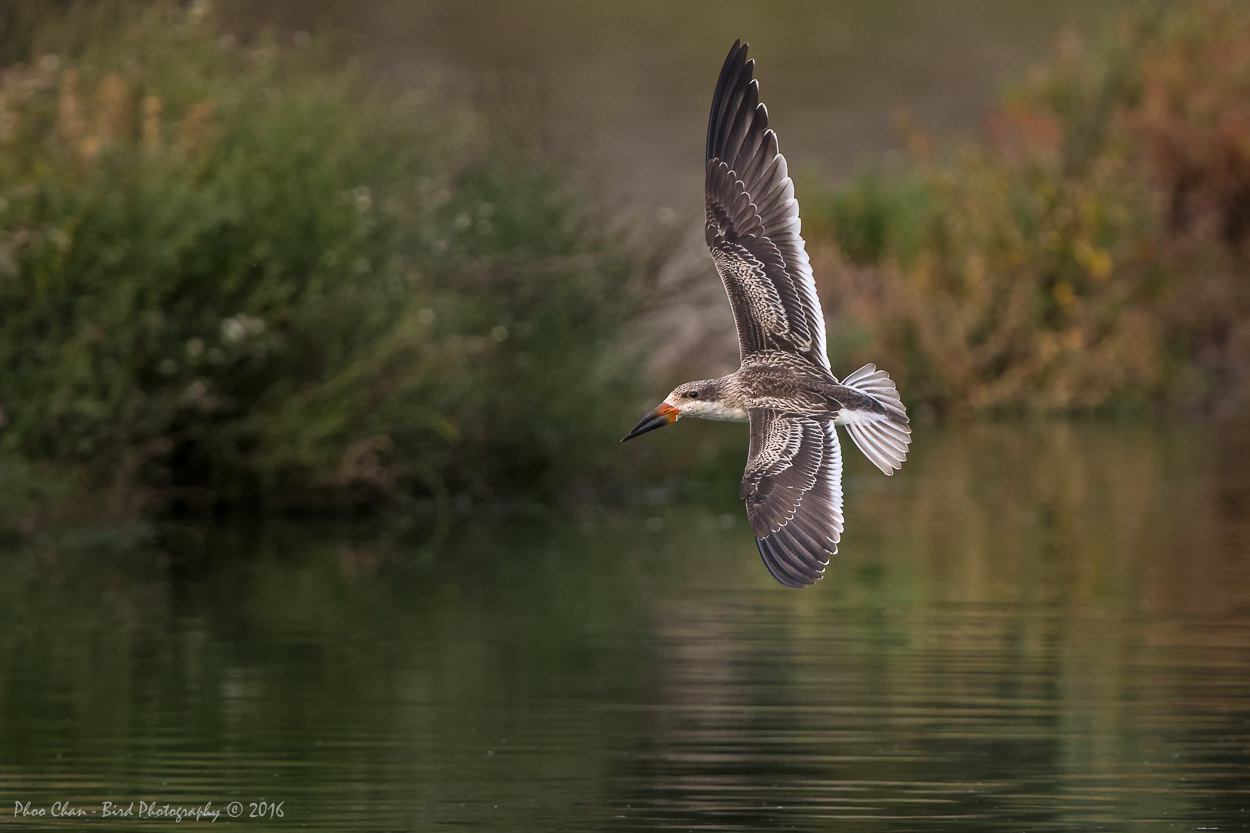

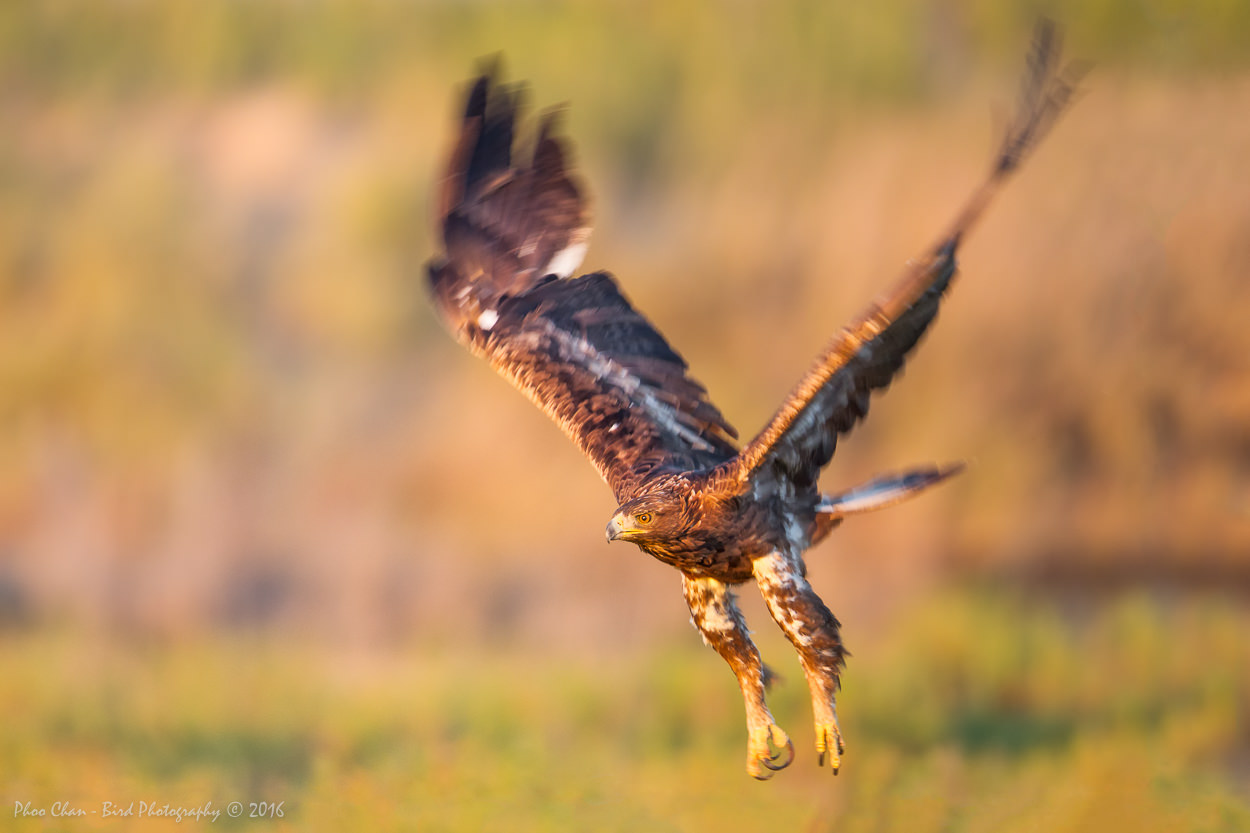
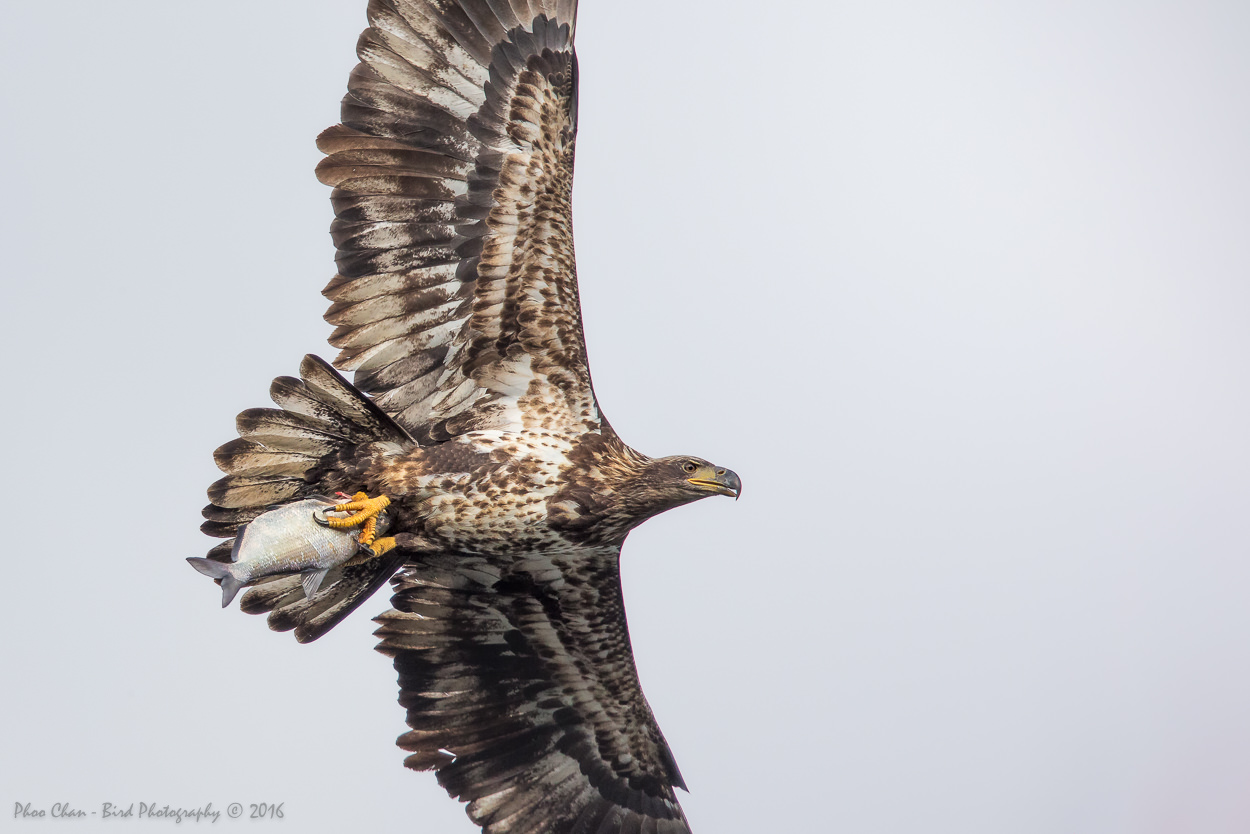
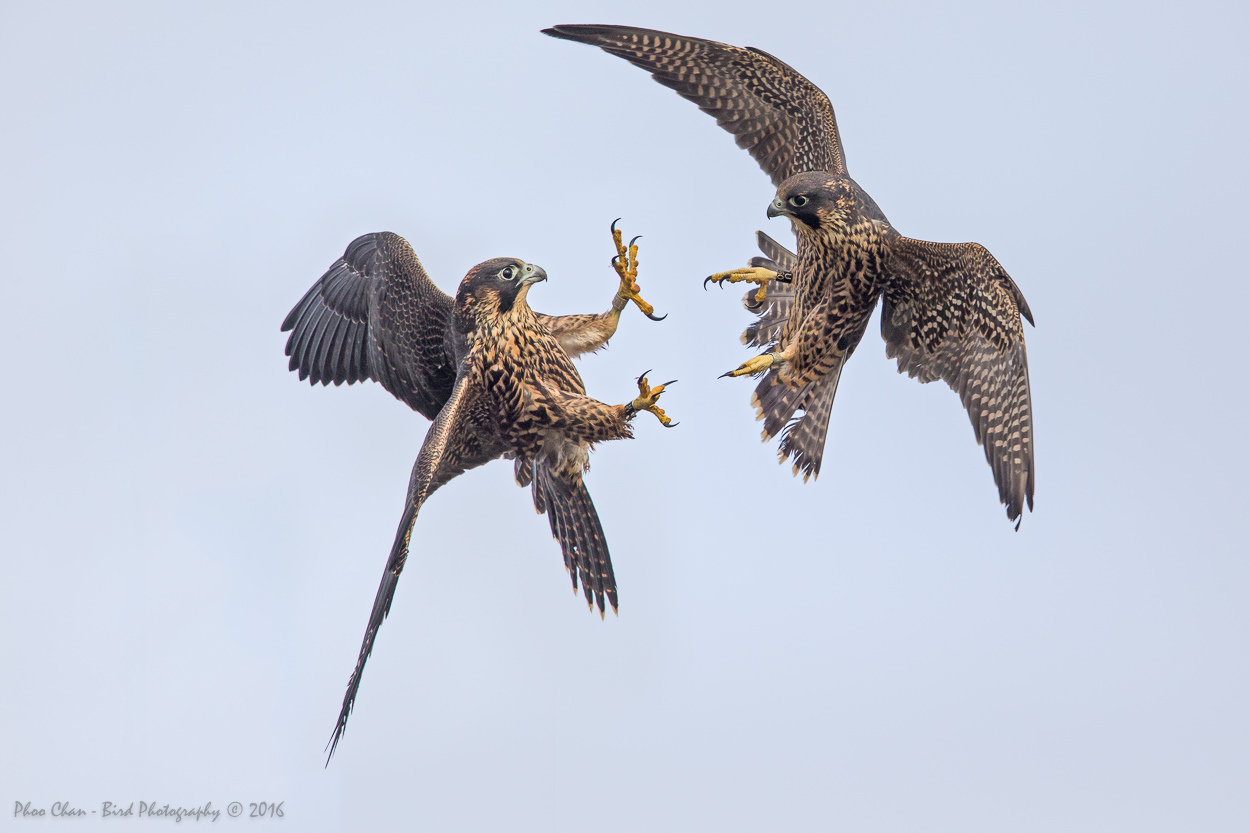
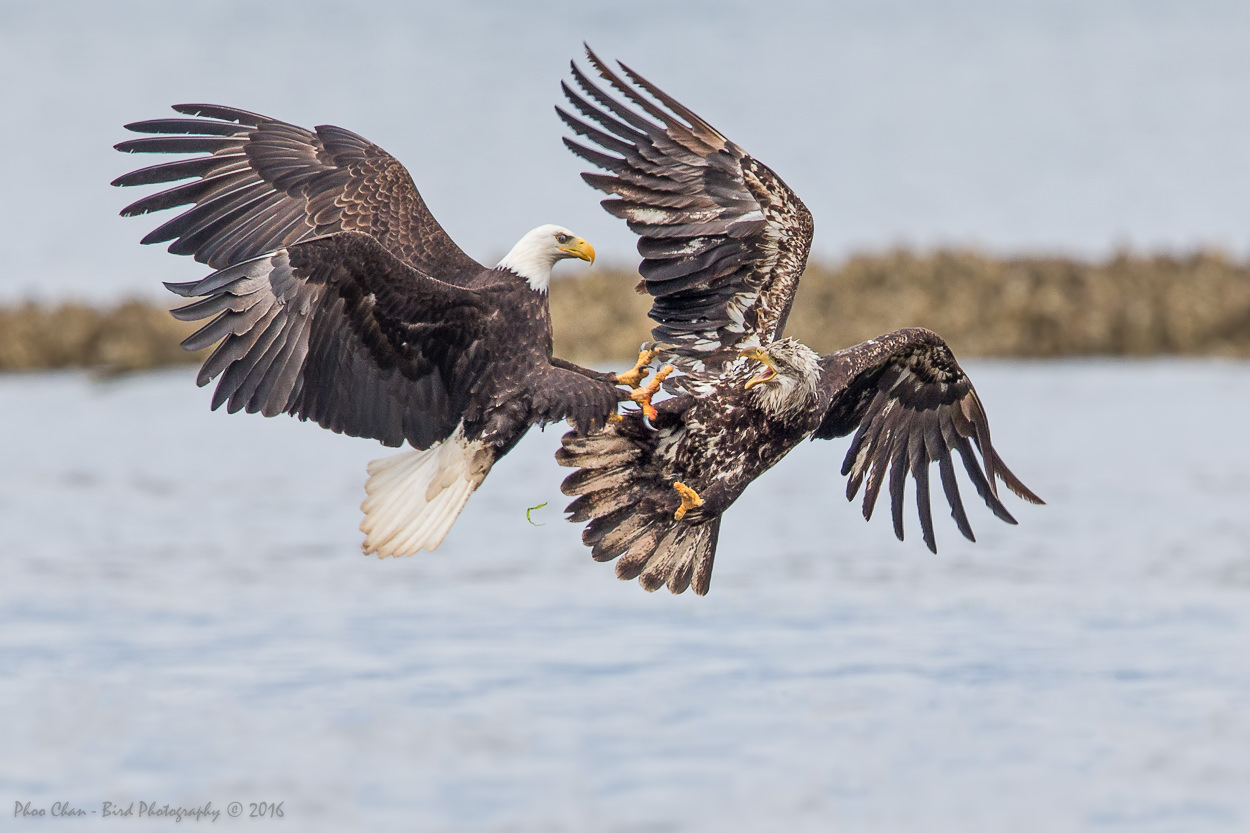
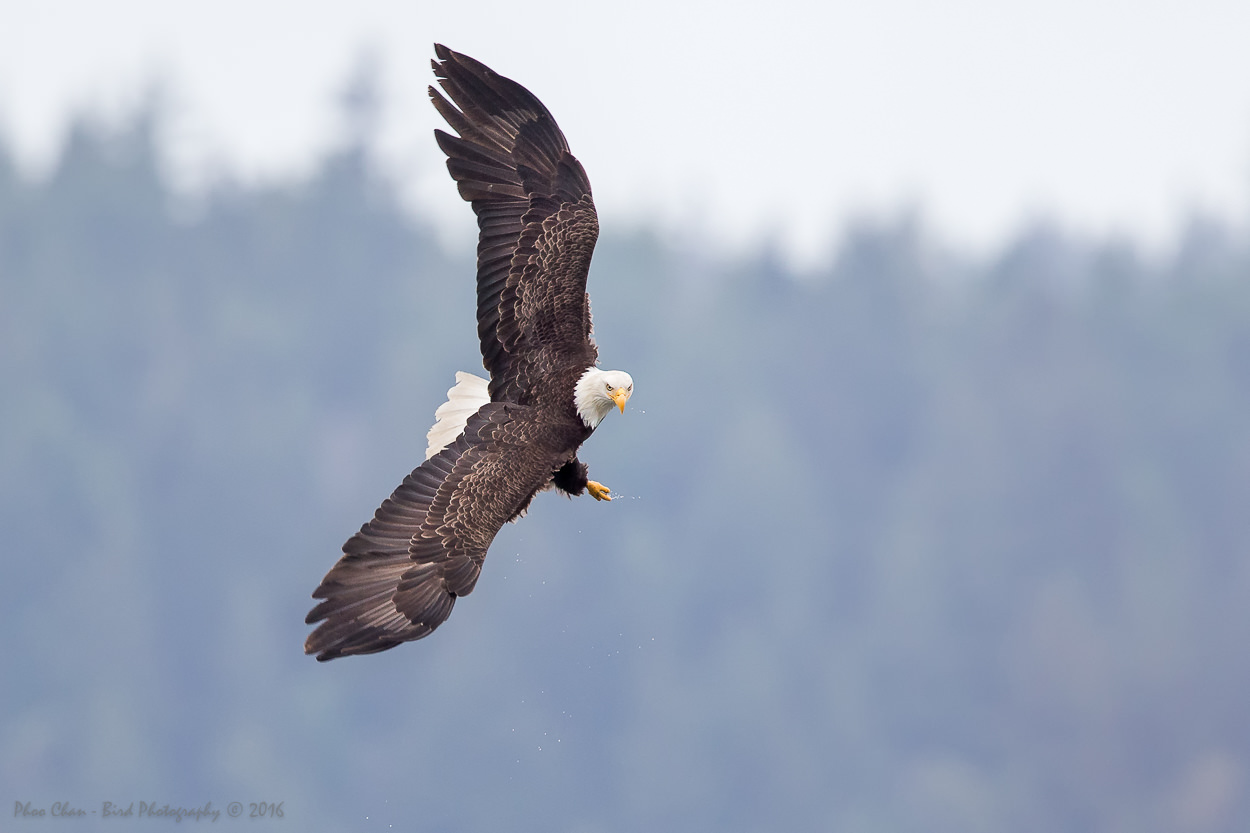


With the pricing of super telephoto lenses from third party brands becoming more affordable today, more photographers are opting for wildlife shots especially bird as their genre of choice. Naturally, with the increased number of photographers, getting a better shot has become a much more challenging task. Everyone wants to get a ‘wow’ from their viewers or greater self satisfaction for a small number of those that don’t usually share their work in public. A simple shot of a stationary bird perched on a branch is no longer eye-catching compared to one with some actions or at least in flight.
I decided to focus on this subject for this blog since many have asked how I managed to get so many good bird-in-flight aka BIF shots. Well, thank you for your kind compliments but to put it simply, it’s because I don’t post my crappy shots..
First of all, let’s go thru the essentials or rules that can make a BIF shot looks good, and at the same time I will also discuss how these rules are made to be broken. Let’s begin with the pointers below, some of which are quite obvious:
1. Flying direction. Capture when the bird is flying towards you or at least sideways. In other words, incoming into the frame. When the bird is already in its outgoing direction i.e. flying away from you, the shot will not turn out as attractive or desirable.
2. Eye contact. The bird has to look at the camera when you start hammering on the shutter to ensure you maintain good eye contact. Usually this is achieved when #1 is met, i.e. the flying direction of the bird. It would be a big bonus if the bird is doing something else in addition to just flying. A bird flying with a prey or perhaps two birds fighting for a prey would definitely raise the bar a notch or two.
3. Background, background, background. Get a creamy background to compliment the flying bird instead of just the blue sky.
4. Exposure. Maintain the balance of shadows and highlights of the bird. This can be tricky when shooting an adult Bald Eagle for instance since it is quite a challenge not to over expose its white head while getting a good exposure of its body. This can be very frustrating, not only because of natural dynamics, for instance, the sun gets blocks by patches of cloud, but the fact that you’re shooting a flying subject that changes the lighting condition wherever it flies into or against, in terms of the background.
5. Apply the rule of one-third in your cropping composition. In general, this rule seems to work well most of the time.
6. Establish a routine workflow. Maintain a good and consistent work flow at post-processing to ensure the subject always pops out from the background. There is no single fixed workflow that one needs to follow partly because of different third-party plug-ins being used. As long as it yields the same result in the shortest time, go for it. My good birding buddy Conrad Tan is kind enough to share his workflow in details. Try it out and follow some of the steps. I use Lightroom mainly to set basic adjustments before I export to Photoshop. I find Google Nik Software to be my plug-ins of choice where I mainly use its dfine 2.0 for my noise reduction work.
OK, it’s so easy to state the obvious, but can you enlighten me on how above can be achieved? Glad that you asked…
Often times, luck plays a big role in getting a jaw-dropping BIF shot. However, skills are still very essential since luck alone will not complete the equation. Below are some tips that I can share. Some are very basic info but worth mentioning nevertheless.
1. Ensure your gear settings are correct, mainly to tackle above rule #4. This can be a big topic by itself to cover for BIF shooting e.g. what is the correct shutter speed, handheld vs monopod/tripod, case #, etc. I will try to keep it as simple as possible although I can only cover Canon gear (1DX and 7D Mk II coupled with 600mm + 1.4x ot 2.0x TC) since this is the combo I’m using most of the time, so expect no discussion on microadjustment here.

a. Use AI servo with maximum frame per seconds burst mode.
b. Use the Image Stabilizer and set to Mode 2.
c. Shoot wide open e.g. f/5.6 since this in return allows you to go higher on shutter speed while IQ has been proven by many photographers.
d. Compensate exposure on the fly i.e. bring up when the bird is against the sky and down when there’s background.
e. Use at least 1/1250s if shooting handheld if lighting allows, i.e. not to push ISO too high. I prefer to have at least some sense of motion i.e. some blurry wing tips instead of frozen solid BIF. You can push all the way up to 1/3200s if you prefer, when in good lighting condition. You can go lower in bad lighting condition but expect to get less keepers. As a general rule of thumb for handheld shooting, try to maintain your shutter speed at 2 times the focal length used in bad lighting. For example, if shooting with a 600mm + 1.4X TC (840mm), use 1/1600s.
f. Use a tripod or at least a monopod. I do prefer handheld shooting for the extra mobility but when it comes to waiting for a bird to take off from a perch, a good support is needed to reduce the weight strain although good reflexes are still needed. This is especially true with bigger lenses such as a prime 600mm. You can still shoot handheld with your elbow resting on your knee but you will find that this can be very taxing too especially when age is catching up…
g. If you’re using Manual mode with auto ISO, try to limit the maximum allowed ISO so as not to push the ISO to its limit resulting in too much noise than you can handle.
h. Use TV mode until you’re comfortable with the settings then switch to manual. This way you can focus on tracking the bird while letting the camera to use the correct exposure.
i. Depending on the bird size (big bird flies slower then smaller birds), you can either use the preset cases (Case 1 to 6) or even custom set your case on how you want your camera to behave in terms of focus point switching response speed. I added the 3 individual sliders to my custom setting menu (green) and make adjustments from there. If I’m shooting a big flying bird, I would lower both Tracking sensitivity and AF pt auto switching, while keeping Accel/decel tracking high.
j. Focus point switching on the fly. The newer bodies offer more focusing points than you may need. Canon 7D Mark II features a single flick button that allows you to switch or toggle between focusing points mode on the fly. This is especially useful to focus lock a bird that is flying thru both busy background and the sky. I limit the modes to only three in custom settings. That way I don’t have to toggle thru the whole thing before it gets to the one that I want. You have to be quick in doing this while tracking the flying bird and this is even more so when you only use the back button for auto focus. Note that you still have to worry about compensating the exposure at the same time, so it is a handful. You can use the “ring of fire” i.e. all focus points when shooting against the sky at a distance away. If the bird is very close then it may not work since the camera only focuses on the closest distance and you may end up locking the focus on the wingtip instead of the bird’s head. I usually toggle between the cross point assist (cross) and the center 12 or 15 Zone AF for 1DX and 7DII. Unfortunately 1DX does not offer the single flick toggle as 7D2.
2. Position yourself so that the sun is behind or on the side to say the least. This may sound too obvious but I do not want to leave this out.
3. Practice, practice, practice.
The subject matter is a moving bird, therefore making the task of capturing a desirable frame much more challenging than shooting a stationary bird. For a beginner, big and slow flying birds such as seagulls, egrets, and great blue heron with a shorter focal length lens would be a great target to practice. Start with something like 70-200mm and take it from there. I would strongly recommend the new Canon EF100-400mm Mark II or the prime EF400mm f/5.6 for beginners.
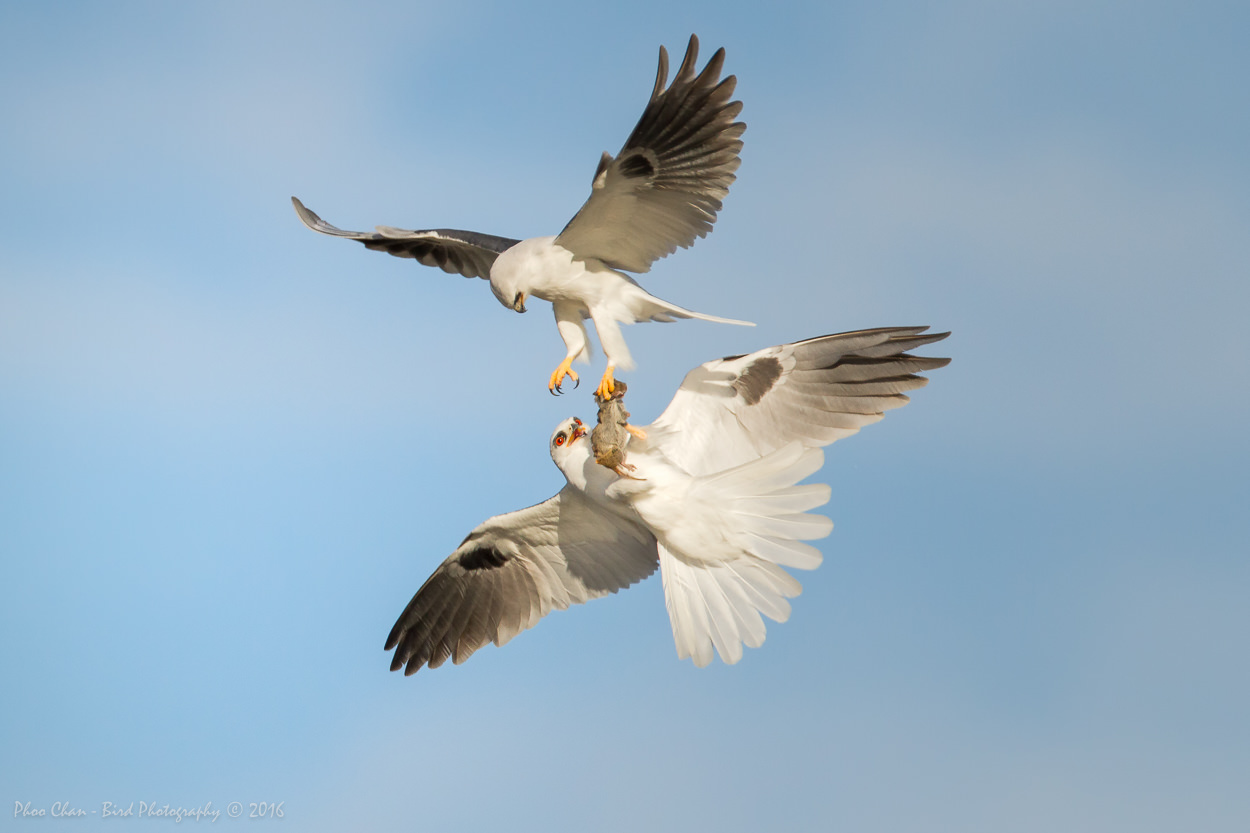
4. Shoot more than you need. Often times you will find several unique poses that were not obvious to the naked eyes. However, be very cautious so as not to fill up the buffer unnecessarily and miss out the peak of the actions. This usually happens during interaction shots such as the White-tailed Kite food exchange scene where I started the burst too soon and filled up the buffer right before the actual exchange took place since it only happened in a split second.
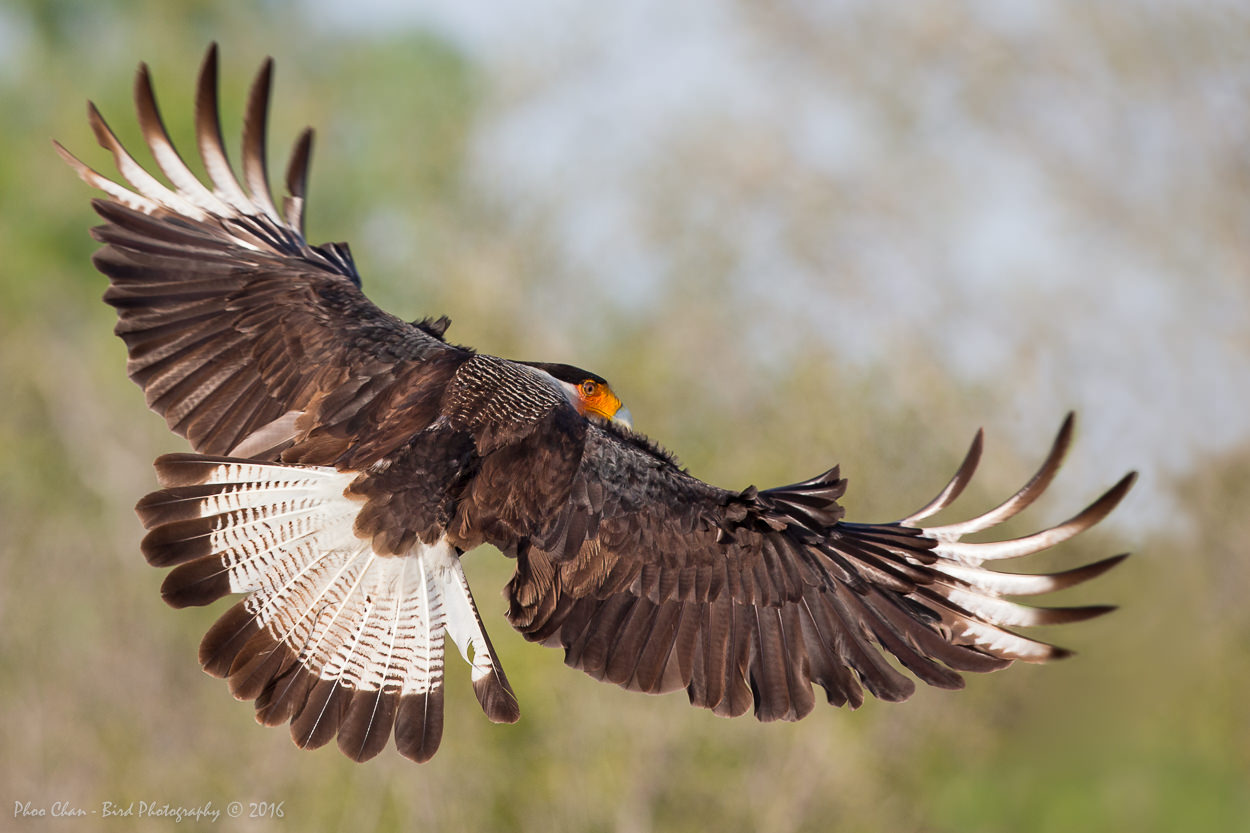
Rules are made to be be broken. I mentioned not to shoot an outgoing BIF but this shot a a flying away direction of a Crested Cara-cara seems to work fine simply because the eye contact is still maintained.
As for the eagle, the details and full wing spread works as good to make a good shot even with the missing head.
Another similar pose of a Peregrine Falcon shot from the back aka butt shot.
Even with the sky as a background, the mid-air ritual food-exchange action between a pair the White-tailed Kite makes your viewers focus on the action.
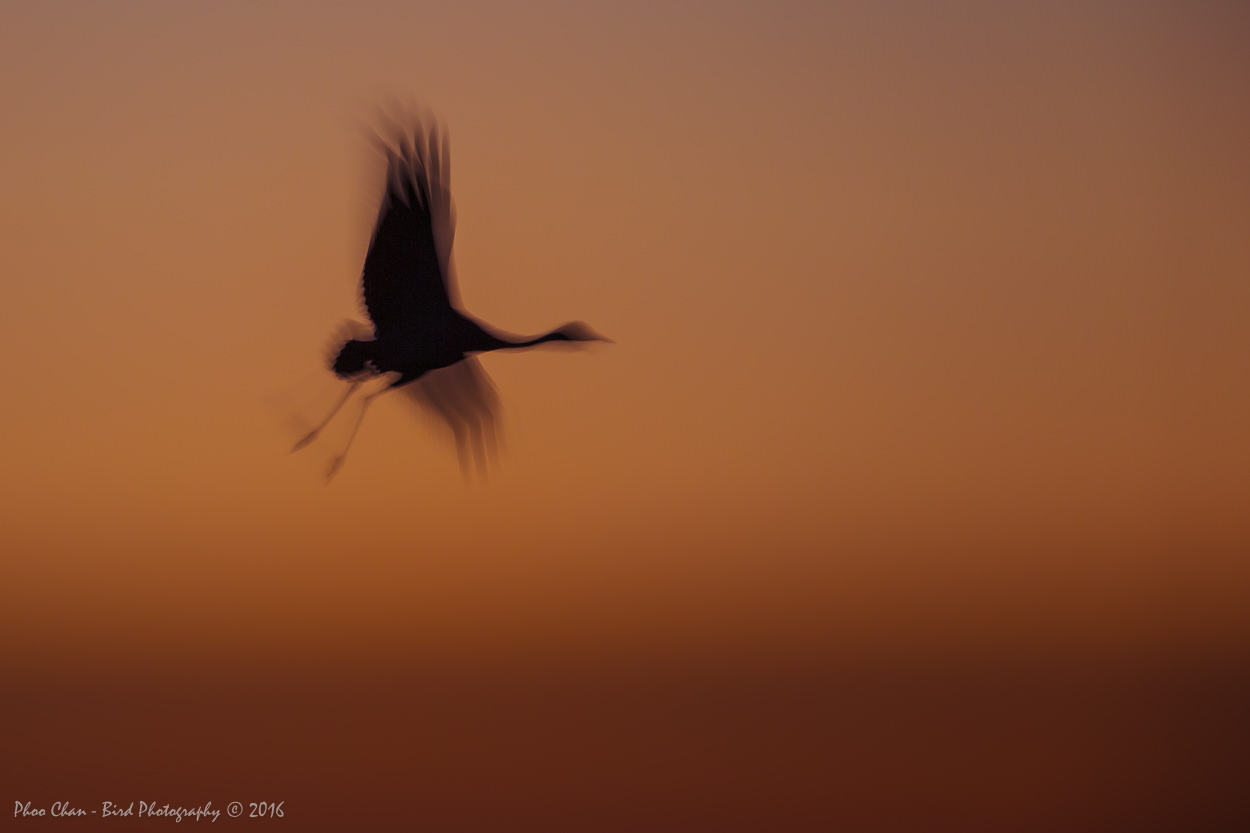
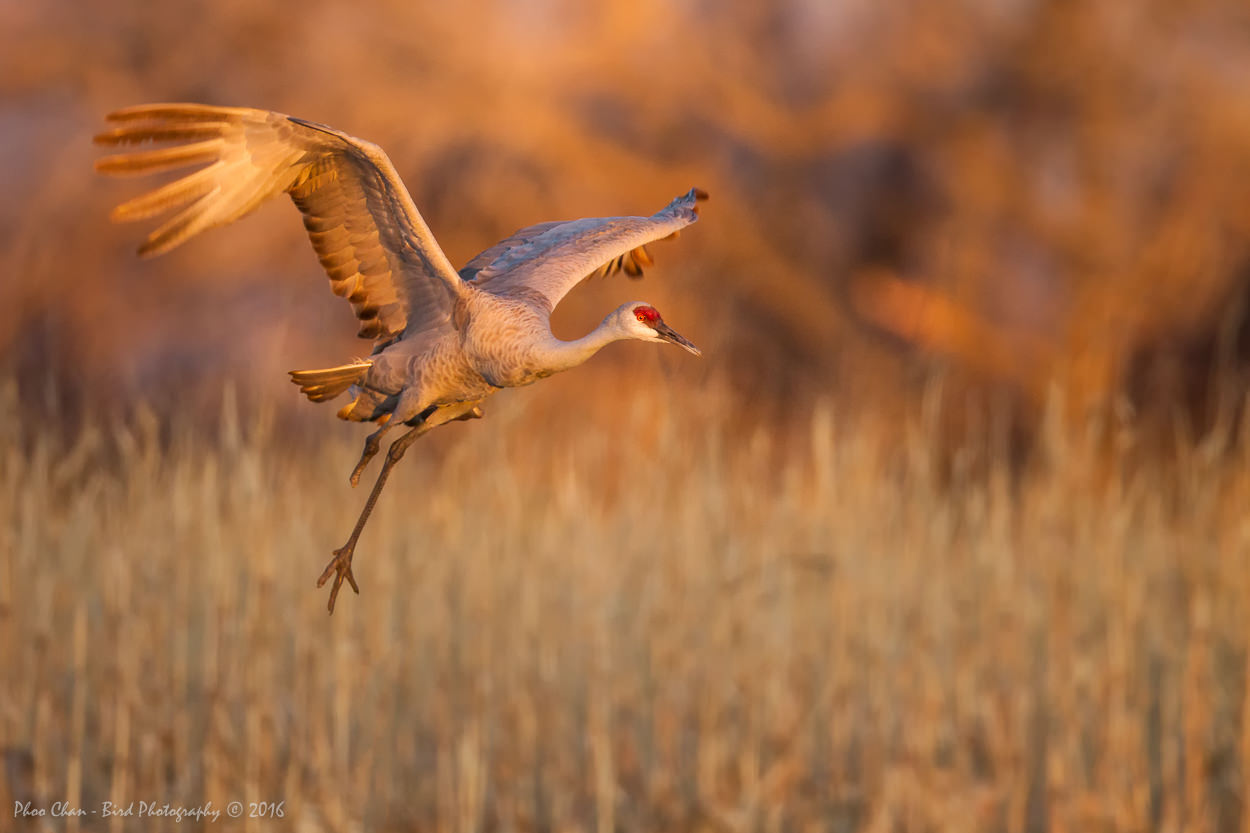
Shooting BIF at slow shutter speed works fine in this shot of a crane coming back to its base during sunset.

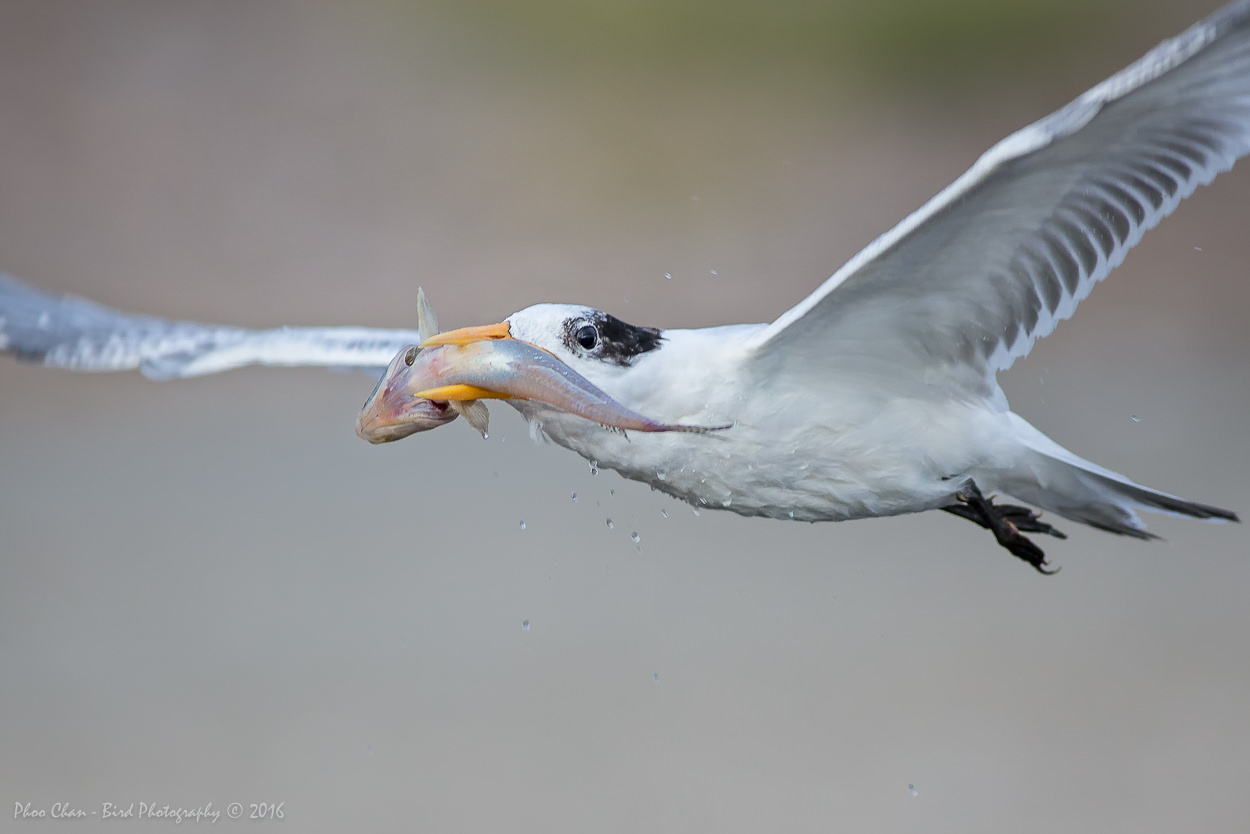
In the case of this shot of a tern with a fresh caught fish, clipping its wings is not necessary a problem with the shot. You will find many more shots seem to work find even they break all the above mentioned rules simply because they are unique.
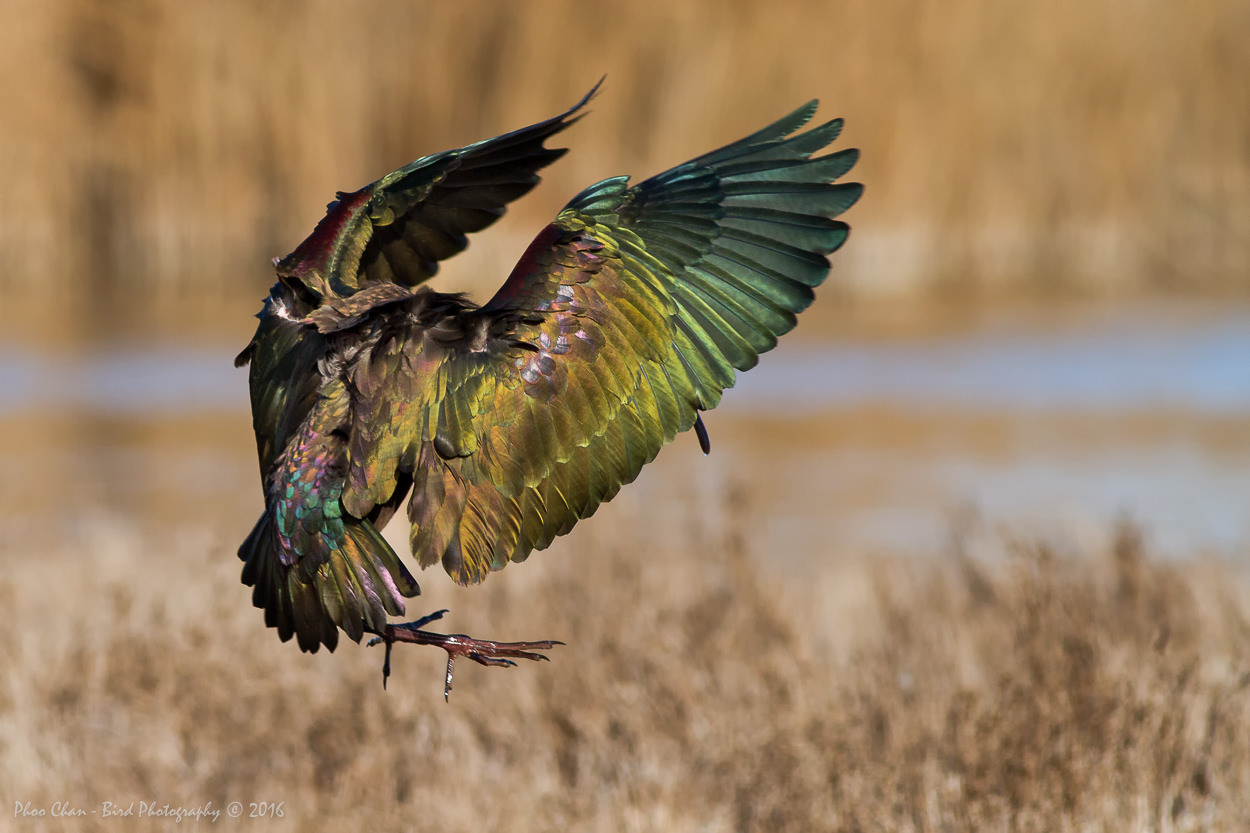
Even this landing pose of a White-faced Ibis can be considered as a keeper even though it was yet another butt shot because of the pretty glowing iridescent colors from the feathers when lit by the sunlight at the right angle.
Use the rules only as a general guide, simply aim, track, and hammer the shutter all the way and most importantly enjoy the fun while you’re at it.
Recommended reading:
Recently I came across a very comprehensive online book Secret of Digital Bird Photography Tools and Techniques by Bill Mojoros. Bill spent a great deal of time putting together this book online at no charge. Feel free to make a donation to him to show your appreciation.


